 AI
AI
A Matrix Effect Badge With CTF Challenges
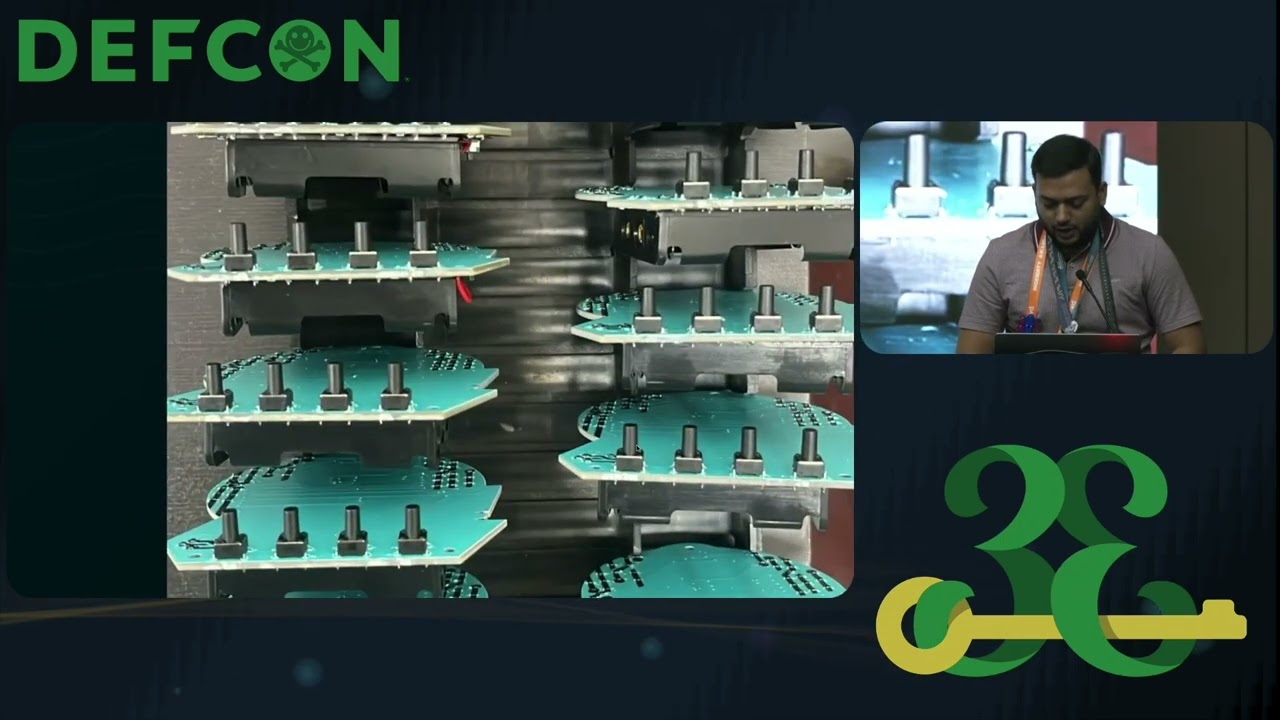
Abhinav wanted a matrix raining code effect for the 2025 badge. He designed a 3D sandwich: acrylic top with the hacker logo cutout, PCB bottom with 41 SMD LEDs. Four tall push-button switches poke through the acrylic for CTF flag entry. An ATmega16A runs the board. The badge includes a white UV layer under the artwork for color correction on the black PCB. A transparent protective coat was added for durability.
UV Printing on PCBs and Acrylic
Abhinav’s lab uses UV printing for PCBs since 2013, starting with an RSA conference badge requiring five brand colors. The printer takes 30 minutes to print 60 to 70 badges on a 2x3 foot bed. For this badge, they added a new transparent protective coat to resist weather and temperature changes. The final PCB has six coating layers: black masking, primer, white UV canvas, color UV artwork, varnish, and epoxy.
Epoxy Coating: A Risky Fix That Created New Problems
During production, tiny bubbles appeared under LEDs and the coating peeled at edges. Abhinav tried epoxy coating to fix it. He applied a 2:1 epoxy-hardener mix with a brush in 15-minute batches. The epoxy contracted as it cured, pulling the UV print layer and disconnecting LED pads. Some badges became non-functional. Badges with incorrect mix formed a gel that never hardened.
Reworking Every Badge by Hand
Abhinav disassembled each flawed badge, applied heat to separate the epoxy, desoldered switches, and removed the coating. LEDs came off with the epoxy. He hand-soldered all 41 LEDs again because the reflow oven would damage other components. The new workflow added five test cycles: UV print after LED soldering, switch soldering, UV coating, cure, and final assembly. All badges shipped.
Q&A
Was the epoxy ratio manufacturer’s or customized? He used the manufacturer’s 2:1 ratio of epoxy to hardener. ▶ 22:43
Was the issue with the ratio or mixing? The problem was the chemical composition being too harsh for PCBs, not the ratio. ▶ 23:22
Notable Quotes
no one else has done this in the world before us Abhinav Pandagale · ▶ 13:37
it took like 10 years for each PCB Abhinav Pandagale · ▶ 19:35
we managed to get every single badge uh working in the way we wanted Abhinav Pandagale · ▶ 21:09
it fixes the problem right Abhinav Pandagale · ▶ 17:10
that became a process for another badge Abhinav Pandagale · ▶ 22:17
Key Takeaways
- UV printing on PCBs enables precise color correction for badge artwork.
- Epoxy coating can fix cosmetic defects but risks pulling underlying layers and damaging components.
- Hand rework of 41 LEDs per badge is possible but requires multiple test cycles.
About the Speaker(s)
Abhinav Pandagale is the founder of Hackerware.io, a boutique badgelife lab. His hacking career began as a toddler disassembling toys, and he has grown the lab to a global presence across 19 countries. He was awarded Sin CON Person of the Year 2025.
MakeItHackin is a hobbyist with a physics degree and Army service. He joined the badge-making scene at DEF CON 29 and has spoken at Physical Security Village, HOPE Conference, and Hackaday Supercon.
Bradán Lane is a UX Designer and User Researcher. He pre-dates the internet and ARPANET, and his background includes making stuff up with confidence.